
10 Git stash commands every developer should know
Git Stash is an extremely useful tool for developers. Learn the usages of the git stash commands to become a productive developer.
Developers are agile. Their work environments are also rapid and fast-moving to keep them on their toes most of the time. I can imagine a situation like this would be quite normal at your workplace:
You are working on a feature and, in between, making some changes that are still too unstable to commit. Now, your boss(they say the boss is always right!) comes over with a rush and informs you that a valued customer is facing the deadliest issue in production. You must take care of it RIGHT NOW.
You don't want to commit unstable changes to your current branch, but you have to switch to another branch and fix the issue to make your customer(and, of course, the boss) happy. However, git doesn't allow you to switch branches without your current changes for the tracked files being committed to the current branch. Wow, what a chicken and egg problem!

Don't worry, we have git stash to rescue.
Welcome to Git stash
The word stash means storing something safely in a hidden and secret place. In the world of git, it tracks your files and folders for changes for everyone's visibility, and with git stash, it also provides a way to secretly put some changes that are only known to you so that you can hide them and again bring them back when required.
The git stash command allows you to save the uncommitted changes locally, switch the branch to do other things, and return to your unfinished work along with the stashed changes. The workflow goes like this:
You are in branch feature/A-branch where you have uncommitted changes
You stash the changes.
You then switch to another branch feature/B-branch to finish the work. You commit(and push) the changes.
You switched back to the feature/A-branch branch, applied your stashed changes, and continued your work.
The command that you use to stash your changes is:
git stash
We will learn the usages for 10 commands related to the git stash in this article. If you are a beginner to git and want to know its fundamentals along with frequently used commands, here is a read for you:
Top 10 Git Commands Every Developer Should Know
✅ Stash your changes
You can have two types of uncommitted changes.
The staged changes that git is tracking. It means you have used the
git addcommand to stage them but haven't committed them yet using thegit commitcommand.The unstaged changes that git is not tracking. It is a file that you haven't staged using the
git addcommand.
Use the following command to stash a staged change:
git stash

# You can also use `git stash save <description>` command to
# save a stash with a description.
It will create a stash in the stack with a unique reference ID.

If you want to stash an unstaged change, use the -u switch
git stash -u
Now, it will add one more entry to the stash stack.

You can use the git stash -a command to stash all the files, including the hidden files.
✅ List all the stashes
You can list all the stashes from the stash stack using this command:
git stash list
It will list all the stashes in a stack, meaning the latest stash will be at the top. Also, notice the format of the stash reference IDs. They are in the format stash@{0}. The number in the curly braces shows their position in the stash stack, 0 being the top.

✅ Create a stash without a reference log entry
So far, we have created all the stashes with a reference ID. We have seen the git stash list command show them in the reflog. However, you can create a stash without logging it's reference to the stash reflog.
To do that, use the create command:
git stash create "valid stash"
It will create a stash with a description and unique ID, but nothing will be stored anywhere in the ref namespace. This stash creation method is mostly used for scripts.

To add this stash entry into the reflog later, you can use the git stash store command like this:
git stash store -m "adding to reflog" "98c7181a7a3621139a4899be71e93ec7ceb18afa"
The output,

✅ Show the latest stash information
Use the git stash show command to see the information of the latest stash in the stack. By default, it shows the status information of the file stashed and the number of insertions and deletions in the files.

If you want to see a verbose stash output, you can use the -p switch with the above command to see the stash information in the patch view.
git stash show -p
The output,
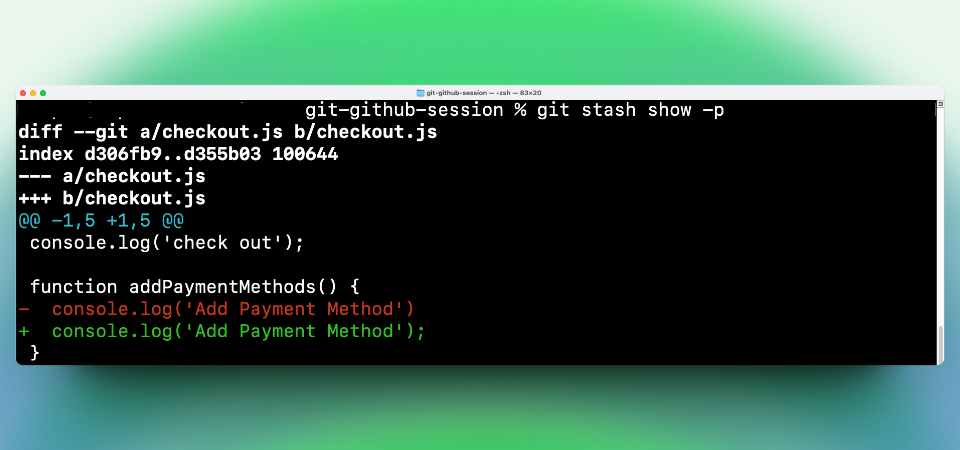
The patch view shows the exact diff between the commits.
✅ Show the information of a particular stash
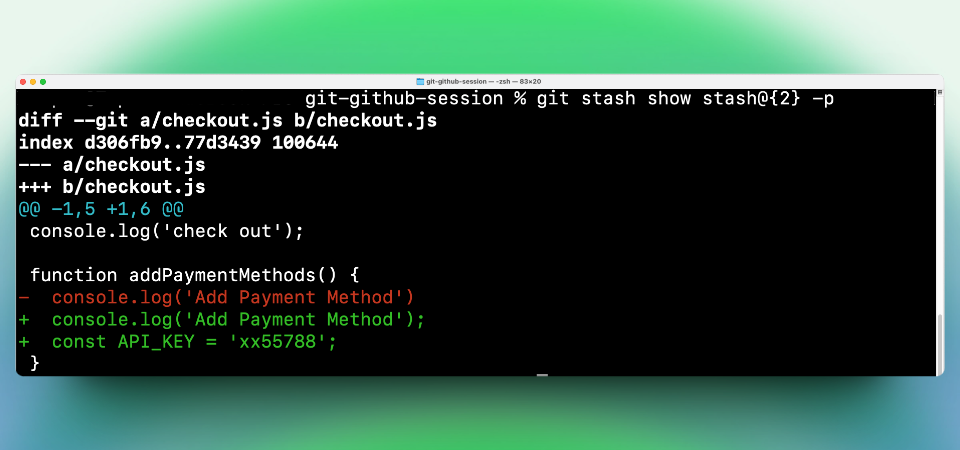
What if you want to see the information of a particular stash? Remember the stash reference ID? We can refer to a specific stash and get its information using the show command we learned above.
git stash show shash@{2} -p
Here, we are interested in seeing the information on the third stash in the stack. The output,
✅ Apply and remove a stash
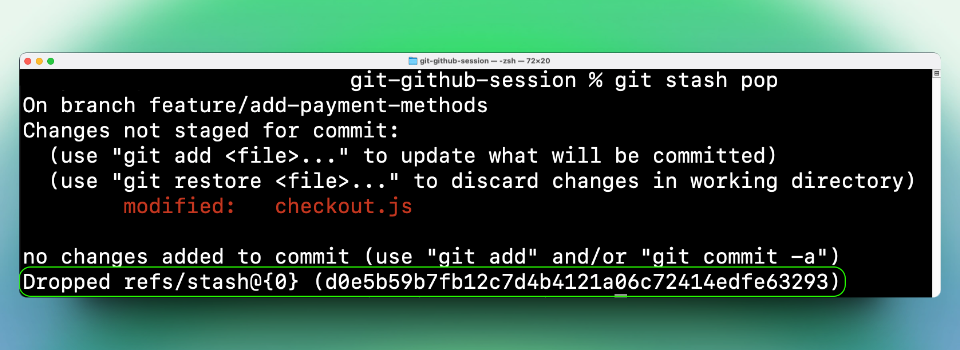
The stashes stay in the stash stack. You can pop(take out) a stash from the stack and apply it to the current branch. Use the following command to pop a stash:
git stash pop
It will pop the latest stash(one at the top of the stack) and apply it to the current branch. Also, the applied stash will be dropped(removed) from the stash stack.
✅ Apply a stash without removing it
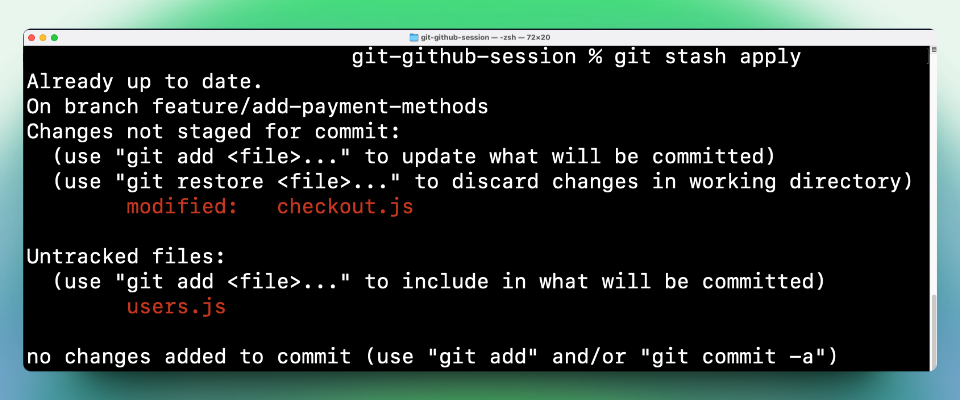
What if you want to apply a stash without dropping it from the stack? You can use the following command for that:
git stash apply
The apply command will apply the latest stash from the stack without removing it from the stack.
Also, if you want to apply a specific stash from the stack, you can use the stash reference ID like this:
git stash apply stash@{2}
✅ Remove a stash without applying it
You can also drop the latest stash from the stack without applying it. To do that, use the following command:
git stash drop
You can also drop a specific stash without applying it using the reference ID of the stash:
git stash drop stash@{3}
✅ Clear all the stash
Sometimes, you may not need the stashes and want to clear them all. Use this command to clear all the stashes from the stack:
git stash clear
✅ Create a new branch from the stash
You can create a branch from the commits in the stash using the following command:
git stash branch fix/resolve-conflicts-checkout stash@{0}
The command will create a new branch and switch to the new branch.

You can check the newly created branch using the git branch command.

That's all for now. Do you know any other usages of the git stash command? Please feel free to comment and let us know.
Thanks for reading it. I hope it was insightful and helped you get familiar with some new git commands. If you liked the article, please post likes/comments and share it in your circles.
Let's connect. You can follow me on Hashnode, and I also share content on these platforms: