Build, Test and Publish your NPM, I just did it in few minutes!
Introduction
They say, "Opensource is a moral thing"! If we build something keeping opensource in mind, we should also take care of making the work available such that, it can be used, realized beyond the 'source code' itself. Hence publishing the work in a way to consume by other work(code) is necessary.
Few months back, I had developed a tool called, Horoscope using node.js CLI(Command line Interface). You can read about the story behind the tool from here .
Today I just published it as a public package so that, the tool can be used through installation of the package into any other node.js app.
This article is about the few quick steps for Building, Testing and Publishing your work as a public package for others to consume.
What is NPM?
I am sure, this doesn't need an Introduction. npm is the package manager for the Node.js platform. It puts modules in place so that node can find them, and manages dependency conflicts intelligently. Most commonly, it is used to publish, discover, install, and develop node programs.
More information on npm can be found here.
Create an account and login
Firstly, you need to create an account here. Make sure, you are able to login successfully once the account has been created.
Make your code ready
package.json file is the heart of any node.js application. If you plan to publish your package, the most important things in your package.json are the name, version and main fields. You should also have a description field for explaining the purpose of the package to the consumers.
name: Make sure to provide a meaningful name as it will be publicly seen when the package is published.version: You need to provide an initial version of the package. This version will be increased when you want to re-publish it in future.main: This is an entry point to your package. Most of the cases, your project will have anindex.jsor an equivalent file. Themainfield will point to this.
You also need to make sure, the main function is exported from the entry point(index.js or the equivalent).
// This line is required as we are publishing it as NPM
module.exports = doTask;
Build and Test locally
npm init: Initialize a node.js project by creating the special file called, package.json. You will be asked few questions. Make sure, you provide answers for name, version, description and the entry point.index.jsas entry point: This is the file where you will be exporting a function as entry point to your app. It could be as simple as this:const uselessMe = () => { console.log('I do not do much, kind of useless!'); } module.exports = uselessMe ;What you have done above is, you have created functionality called 'uselessMe' and planning to make it public to all through the npm package you are about to build.
npm pack: It is important to test your npm package locally before you publish it publicly. Publishing it publicly and test may end up bumping up the package version unnecessarily as you need to do multiple re-publish.There is a great way to test it locally using
npm packcommand. This command creates a .tgz file exactly the way it would if you were going to publish the package to npm. The beauty is, it pulls the name and version attribute frompackage.jsonand create a file like,thought-horoscope-1.1.2.tgz.In the root of your project directory do,
npm packThe generated tar file can be copied and used in any of the other node project's package.json file to install and use.
"dependencies": {
   "thought-horoscope": "file:thought-horoscope-1.1.2.tgz"
}
Publish
Alright, we have to now publish the package. First we need to login from the command line using,
npm login
Please provide the credentials you have created already. You can also check if you are in the session with following command,
npm whoami
Next part is, just to run the the publish command,
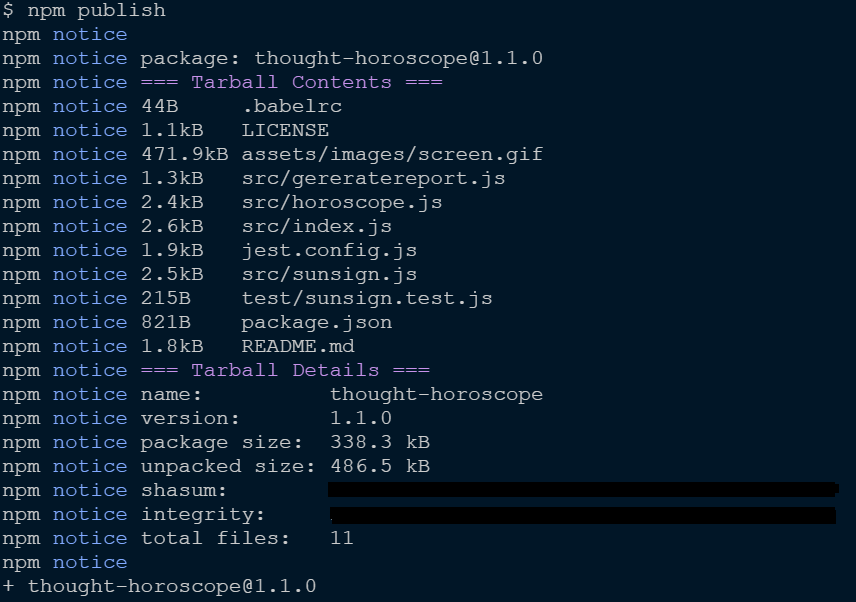
npm publish
It should just run fine and give you the message of successful publishing.

Make changes and Republish
Most of the cases, you got to make improvements into your package and re-publish. It is very easy too.
First, do a bump up of the version using,
npm version patch
After that, just publish again,
npm publish
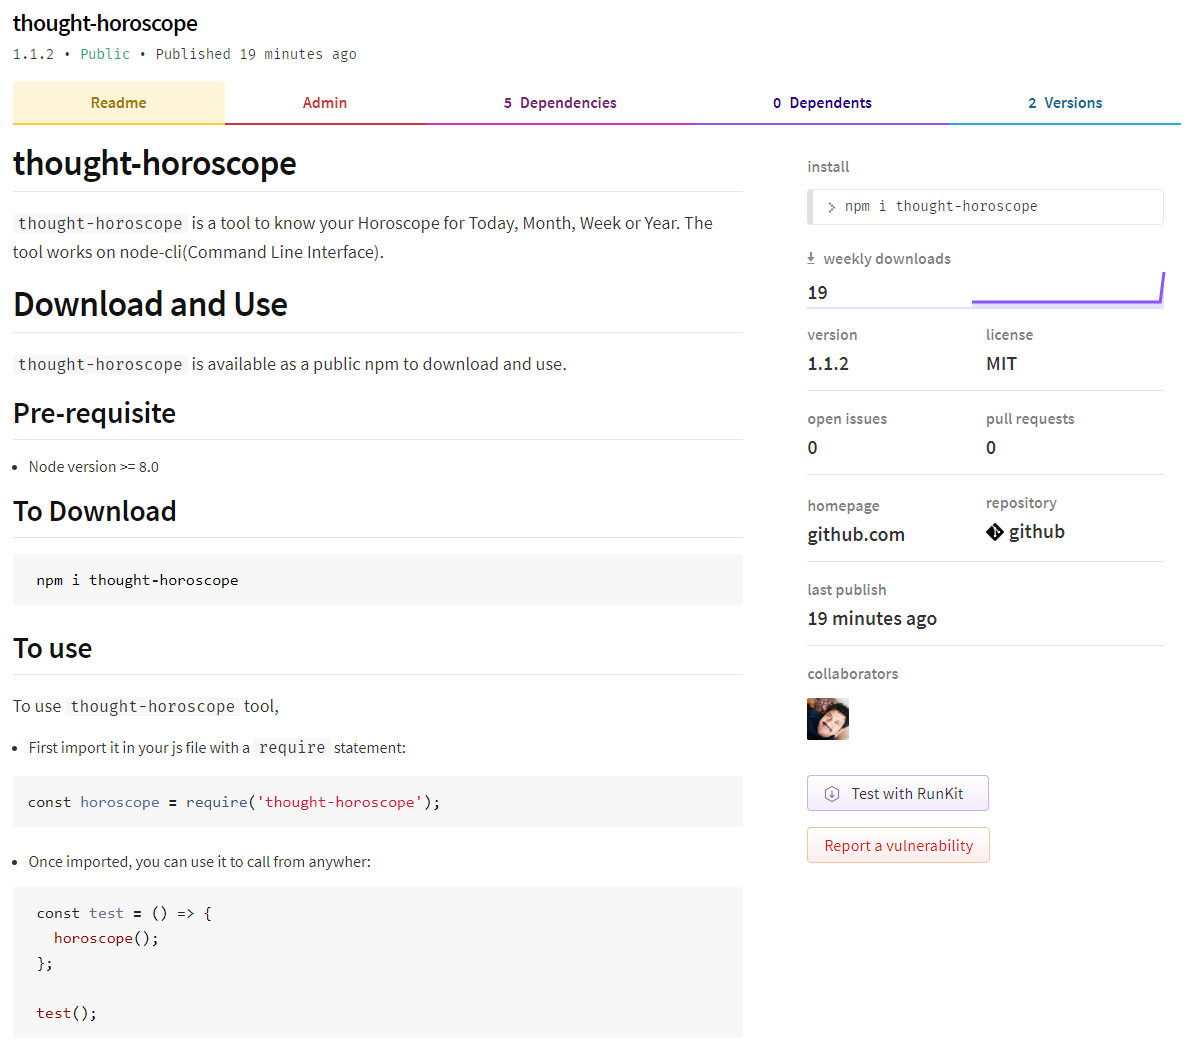
All published packages can be seen under your profile > packages tab of npm registry site ,

Unpublish the Package
This is bit of a danger zone. Please make sure, you know what you are doing before Unpublishing.
// unpublish an entire package
npm unpublish <package-name> -f
// unpublish a specific version of the package
npm unpublish <package-name>@<version>
Please read about Unpublishing a package in details from here before attempting to do so.
Use the package
With all done, we can use the published package in any other node.js app by using,
npm i <PACKAGE_NAME>
Golden Tips
Here are some golden tips about publishing:
- Maintain Semantic Versioning of your package.
- Write a good
README.mdfor your users. - Make sure,
package.jsonfile has the value for 'git repository'. This helps in linking up the github repo from the npm package page.
Time to CELEBRATE!
Why not? We are just done with something cool. Time to Celebrate!

Credit
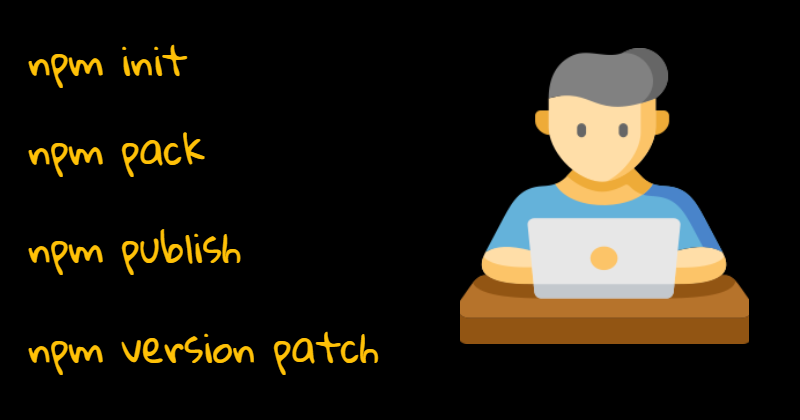
The cover image of this post uses an Icon made by Freepik from www.flaticon.com
Hope you liked the article. Please give a try to thought-horoscope.
