How to Create a Self-Clicking Button with ReactJS?
This frequently asked ReactJS interview question about self-clicking button may trick you! However, the answer is straight simple. Let's learn.
What is a Self-Clicking Button?
HTML has a <button> tag to create a clickable button element. You can attach an event handler to it to define an action to perform when users click on the button.
<button onclick="handleClick()">Click me</button>
A self-clicking button is an HTML button element whose click event gets triggered programmatically without user interactions. But do we need such buttons?
Mostly No. it's worth noting that creating a self-clicking button may not be the best approach for most use cases. It's generally better to trigger events based on user interactions rather than programmatically. Creating a self-clicking button may also make the UI less intuitive and harder to understand for users.
Well, then, why are we learning this?
Fair ask. We are learning this because it is a frequently asked ReactJS interview question to test your knowledge on the followings:
References and the
useRefhook.Attaching event listener using a reference to the HTML elements.
Handling WEB APIs like
setTimeoutandsetIntervalas a side effect in theuseEffecthook.
So it's important to learn about creating the self-clicking button with ReactJS to learn and explain these concepts.
Create a self-clicking button
To create a self-clicking button with ReactJS, first, you need to create a reference to the button element. ReactJS provides a standard hook called useRef to create a reference to elements.
const buttonRef = useRef(null);
The useRef returns a plain JavaScript object which has a special property called current. In the above code snippet, the buttonRef object has the currrent property to get the current state of the button element and set any attribute's value of the button element.
In case, you are new to the
userRefhook and want to understand how it works under the hood, check this video tutorial:
Don't forget to SUBSCRIBE for future content.
Ok, moving on. Now, you have a reference to the button element, and you know that the current property can help you add a click event listener and to call the click event on it.
You can add a click event listener like this:
// Here clickHandler is a function that defines
// what to do when the button is clicked.
buttonRef.current.addEventListener('click', clickHandler);
You can now programmatically call the click event on the button using the ref:
buttonRef.current.click();
Finally, in the JSX, you need to use the ref attribute to associate the buttonRef to the actual button element.
<button ref={buttonRef}> Self Click </button>
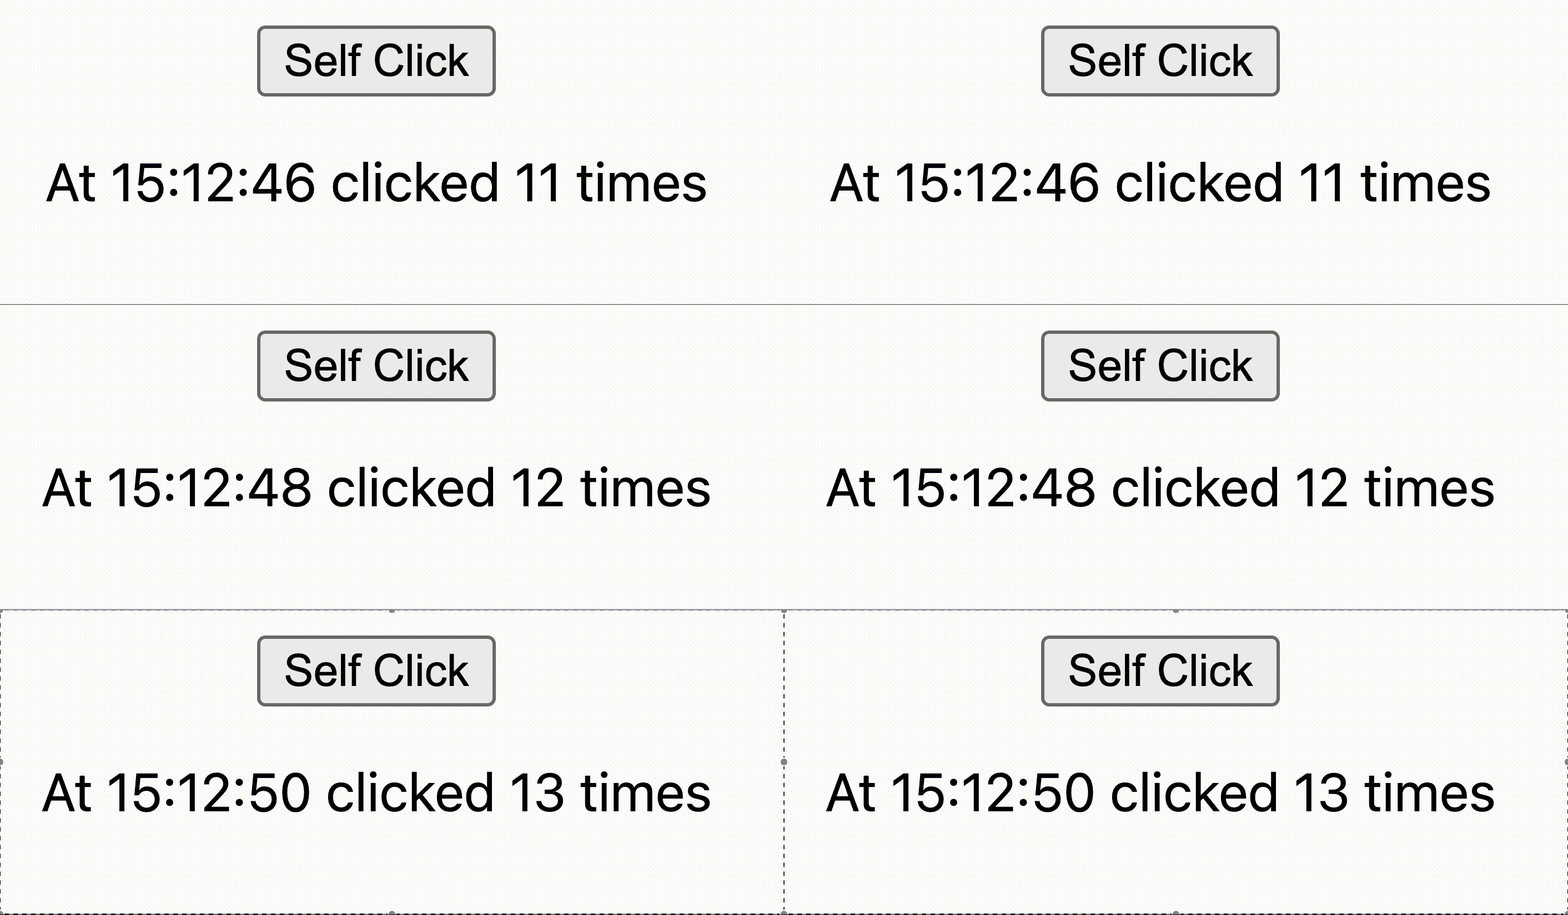
That's all basically to make a button programmatically clickable. Let us now add some cream on top. Let's enhance the self-clicking button such that it clicks every 2 seconds automatically, like this:

To achieve this, we need to click the button programmatically at the interval of every 2 seconds. JavaScript provides a Web API method called setInterval to achieve this. The APIs like setInterval and setTimeout are considered as side effects to a ReactJS component and must be handled inside another standard hook called, useEffect.
The useEffect hook has three parts:
The first parameter is a callback function that defines what effect to run.
The second parameter is the dependency array to define when the effect should run. If we pass an empty array, the effect should run only once every time the component mounts(loads).
A function that we can return where we can perform any cleanup when the component unmounts.
useEffect(() => {
    buttonRef.current.addEventListener('click', clickHandler);

    const interval = setInterval(() => {
      buttonRef.current.click();
    }, 2000);

    return () => {
      clearInterval(interval);
    };
  }, []);
In the code above, we run the effect only once when the component mounts. The effect runs the code to click a button every 2 seconds programmatically. We also clear the interval as part of the clean-up method.
Here is the complete code of the app, where you can see how we are using a state counter and increasing it with every button click.
import React from 'react';
import { useState, useEffect, useRef } from 'react';

export default function App() {
  const buttonRef = useRef(null);
  const [counter, setCounter] = useState(0);

  function clickHandler(event) {
    setCounter((prev) => prev + 1);
  }

  useEffect(() => {
    buttonRef.current.addEventListener('click', clickHandler);

    const interval = setInterval(() => {
      buttonRef.current.click();
    }, 2000);

    return () => {
      clearInterval(interval);
    };
  }, []);
  return (
    <div
      style={{
        display: 'flex',
        'flex-direction': 'column',
        'justify-content': 'center',
        'align-items': 'center',
      }}
    >
      <button ref={buttonRef}> Self Click </button>
      <p>
        At{' '}
        {new Date().getHours() +
          ':' +
          new Date().getMinutes() +
          ':' +
          new Date().getSeconds()}{' '}
        clicked {counter} times
      </p>
    </div>
  );
}
That's all. You have now learned to create a self-click button using ReactJS. I've added this code as a play to the ReactPlay app. You can try it out here:
A simple play where a button is programmatically clicked every 2 seconds.
What's Next
Here is something for you:
Learn React, Practically
I've been developing professional apps using ReactJS for many years now. My learning says you need to understand ReactJS fundamentally, under the hood to use it practically.
With that vision, I have created a ReactJS PlayLIst that is available for the developer community for FREE. Take a look:
Before We End...
Thanks for reading it. I hope it was insightful. If you liked the article, please post likes and share it in your circles.
Let's connect. I share web development, content creation, Open Source, and career tips on these platforms.